
Here’s what I did…
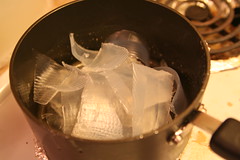
Grate the bar of soap into a small saucepan filled with the 4 Cups water and heat to boiling.
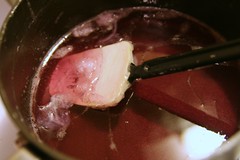
Add the glycerin and oils, stir to mix and let cool.

Pour into a glass dispenser and let sit overnight.

In the morning, the soap will have turned to gel. How cool is that?
 If you find that it starts to solidify after awhile, just unscrew the
top and whisk it up with a kitchen whisk and you’ll be good to go.
calendula soap
You can easily make herbal soaps for your family to use and enjoy, right in the comfort of your own kitchen. There are two soap-making techniques. This tutorial teaches you the simpler of the two. Technically, you’re really embellishing this soap, rather than making it from scratch. Because the process is simple, even small children can help to make these beautiful, healing soaps, as long as you carefully monitor them around the stove and hot soap. (Of course you will!)
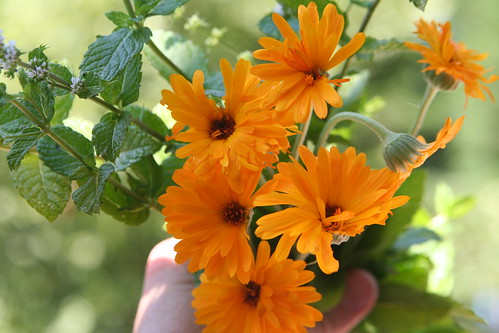
Calendula (also known as pot marigold) is a common and prolific garden annual that reseeds itself. It is known to have been used as early as Roman times as both a dye and a flavoring. Calendula is known to have antiseptic properties, which make it perfect as a soap additive. Many natural first aid preparations include calendula.
Peppermint grows in many cottage and kitchen gardens. You can use it in teas, desserts, and body care potions, such as lotions, shampoos, balms, and soap. Mint may have a calming and soothing effect for skin irritations, itching and hives. It is believed to have anesthetic and anti-inflammatory properties.
Materials for Making Herbal Soaps
- glycerin soap base (I used a glycerin and olive oil base)
- calendula (pot marigold) and mint herbs from the garden (I used a mix of dried calendula petals and fresh flower heads, and fresh mint leaves)
- stovetop pan, cutting board, knife, ladle
- soap molds (also silicone muffin pans work very well; these come in fun shapes )
- essential oils for fragrance (optional)
- soap colorant (optional)
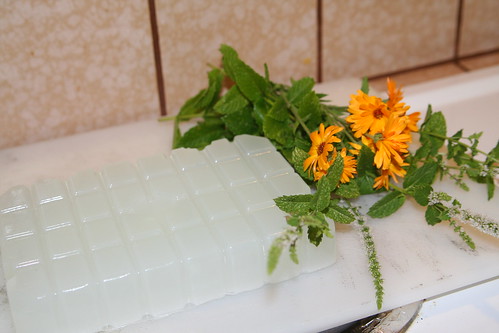 A word about glycerin soaps: You can buy glycerin at
the craft store. Using pure glycerin
soap in this project will result in soaps with a layered effect, since
your herbal additives float to the top of your molds as your soap sets.
There’s nothing wrong with this, and the result can be quite beautiful
and rustic. Another kind of glycerin soap base that you can buy has
olive oil added to it, and a property that keeps any additives in
suspension, meaning you won’t get layers and your herbs will stay mixed
throughout the soap. This is the look that I was going for with these
two batches. You can decide what’s right for you. There is no difference
in how you make the soap. Just be sure to read the packaging carefully
so you get what you really want.
A word about glycerin soaps: You can buy glycerin at
the craft store. Using pure glycerin
soap in this project will result in soaps with a layered effect, since
your herbal additives float to the top of your molds as your soap sets.
There’s nothing wrong with this, and the result can be quite beautiful
and rustic. Another kind of glycerin soap base that you can buy has
olive oil added to it, and a property that keeps any additives in
suspension, meaning you won’t get layers and your herbs will stay mixed
throughout the soap. This is the look that I was going for with these
two batches. You can decide what’s right for you. There is no difference
in how you make the soap. Just be sure to read the packaging carefully
so you get what you really want.Begin by gathering your materials. You will need a clean cutting board and a table top to work on.
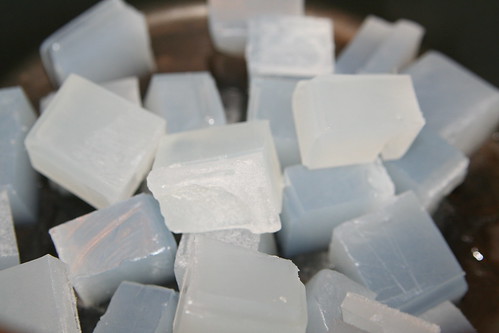
First, cut your glycerin soap base into small cubes. This makes it easier to melt at low temperatures, and you want to keep the temp quite low when you‘re making soap. You can use a double boiler or just put your glycerin cubes into your pot. (Cleanup is easy with hot water and a scrub brush!) Stir the soap often until all pieces of glycerin are melted.
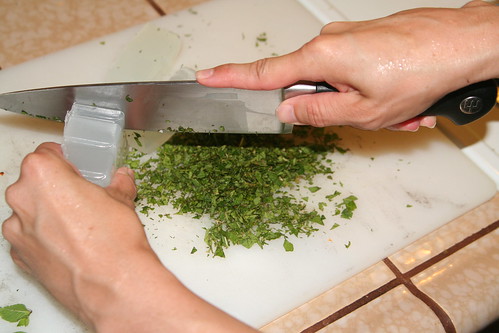
Meanwhile, chop your mint leaves into very small pieces. You may wish to set aside some of the tiniest leaves to be used as a decoration later on. Of course, this is optional.
If you have lots of soap molds or muffin pans, you might be able to make both types of soap at the same time. Since I had to reuse the molds after the first soaps were fully set, I made two batches—first calendula, then mint—cleaning up in between batches.
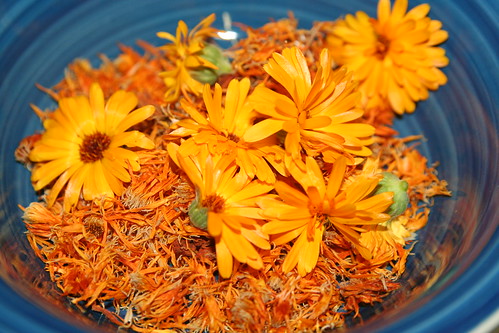
Before starting, I saved the dried petals from my calendula flowers for a week or so. For my soap, I also used a few fresh flower heads to maximize its potency as an antiseptic.
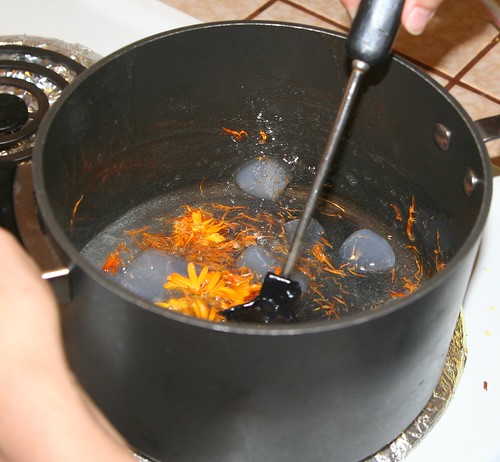
Add your petals and flower heads to your melting soap cubes. The heat will begin to cook the flowers.
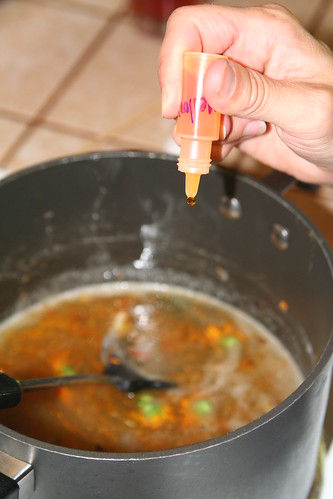
If you want your calendula soap to have a rich yellow coloring, add a few drops of soap colorant to the pot. You don’t have to do this, and if you cook the petals in the soap a while, it will begin to take on a natural yellow color. At this point, you can also add fragrance, if you wish. I added a few drops of geranium essential oil. Geranium is known to be a comforting scent, and since I envision my children washing their scrapes with my calendula soap, comfort seemed to be just the right feeling to evoke by smell.
If you used fresh flowers, you should fish out the centers now. When you’re satisfied with your soap’s color and fragrance, it’s time to pour it into molds to set. Using a ladle, gently fill each cup to the brim. Keep the mold flat. The soap will begin to cool quickly, but it may take an hour or so for the soap to become very firm to the touch. You can speed the cooling by placing the mold flat in your refrigerator.
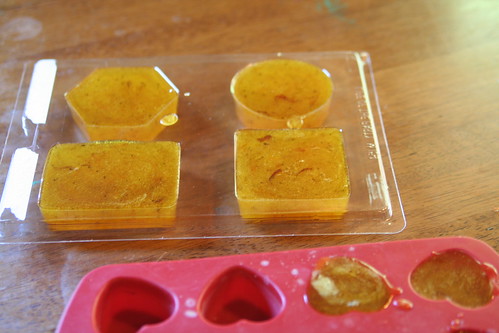
When the soap is completely firm and set, gently pop each soap out of the mold. They should separate from the mold’s sides with some gentle twisting and come out cleanly.
My second batch of soap was mint.
You’ll repeat all the same steps as with the calendula soap.
Begin by cutting soap cubes and then just add the chopped mint in with the glycerin. The longer you allow your mint soap to cook on the stove over low heat, the greener it will become. I added a few drops of eucalyptus and mint essential oils to the warm pot. The smell is calming and relieves stress.
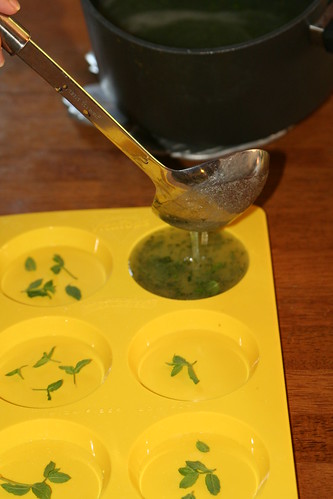
You can add your reserved tiny mint leaves into your mold if you wish. They won’t stay exactly in place when you ladle in your mint soap, but you will be able to see pretty whole leaves in your soaps after they have set.

In this photo, you can see my two different pours. The greener bars were poured from soap that had been on the stove longer. The natural green from the mint leaves colored the soaps. I like them both.
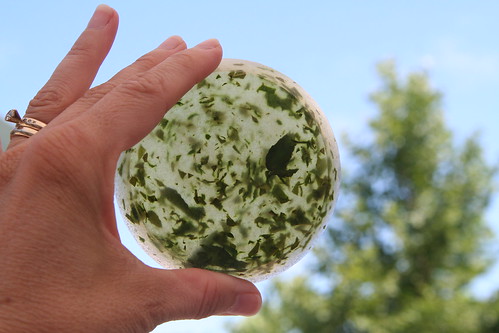
A finished mint soap, with lots of gorgeous herbal goodness visible.
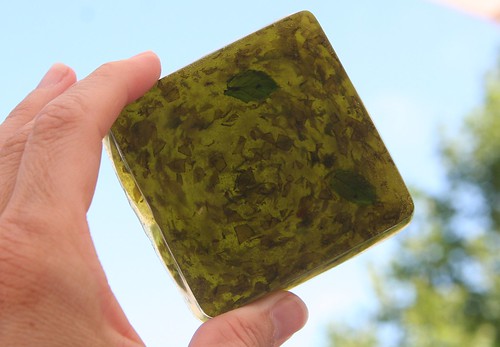
And here’s a darker one. This soap was on the heat longer and became a dark green.
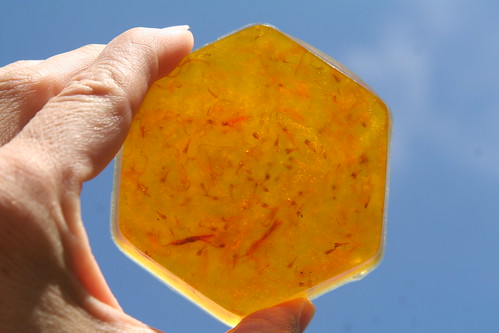
Here is the finished calendula soap, with pretty golden-orange petals showing inside.
It was tons of fun and very easy, and the results are so pretty!
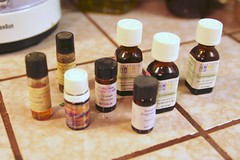
We used herbs from my garden, such as lavender leaves and rosemary, dried lavender flowers we both had been saving, and several essential oils. We also used kitchen goodies like honey and oatmeal.
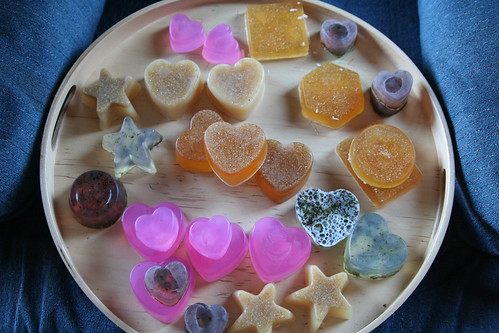
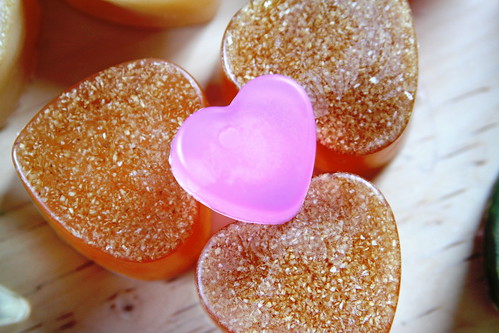
We made clear lavender; pinkish lavender rosemary; honey oatmeal orange; honey beeswax lavender oatmeal; and finally, rose with pink dye. The golden soaps are colored only with natural honey.
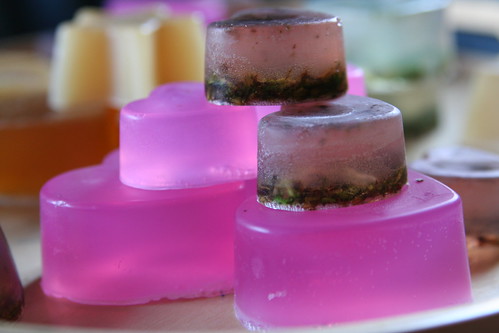
I think they look spectacular. They are going to make great gifts.
****************************************************************
Homemade Liquid Soap {recipe}
Ingredients
- 1 bar of natural/handmade soap (I used a 3 oz bar of cinnamon scented soap from
- Simple Cleansing)
- 1 Tbsp honey
- 1 tsp vegetable glycerin
- 1 cup boiling water
Instructions
- Grate the bar of soap so that it dissolves more easily in the water.
- Place the soap and boiling water into a blender and blend until all the soap is dissolved. This step produced a LOT of foam for me. Also make sure to be extra careful here – you are dealing with very hot water.
- Add one tablespoon of honey and 1 teaspoon vegetable glycerin to the mixture and blend for a few seconds to mix well.
- Add water to reach desired consistency.
- Allow the mixture to cool – it may take an hour or so for the foam to dissipate. You may then pour into your container and store the rest in a jar.
****************************************************************************
The recipe I used is:
Copha
250g
Rice Bran Oil
400g
Beef Tallow
350g
Water
380ml(g)
Lye(in the plastic container) 142g
Lemon Myrtle essential oil 12
drops
Melting the oil/copha/tallow


After using a stick blender to achieve heavy trace

Halfway to cooked

Almost there

Next morning - the soap set in the mold

Bottoms up to cut

Finished blocks of soap averaging 136g each. They are still a bit spongy
so will need some time to dry out and will lose a little weight in the
process.

Tips
- If you would like to make a soft white soap, instead of clear soap, purchase an opaque glycerin soap base to melt and pour and do not add coloring.
- Display homemade soap in clear, glass containers to decorate your kitchen or bath.
- Wrap soap in trimmed waxed paper or clear plastic wrap to keep the surface clean and then place in gift wrap or crafting paper. Tie with a ribbon or bow for gift giving.
- Use a toothpick or something similar to carve with to make some fun designs



No comments:
Post a Comment